
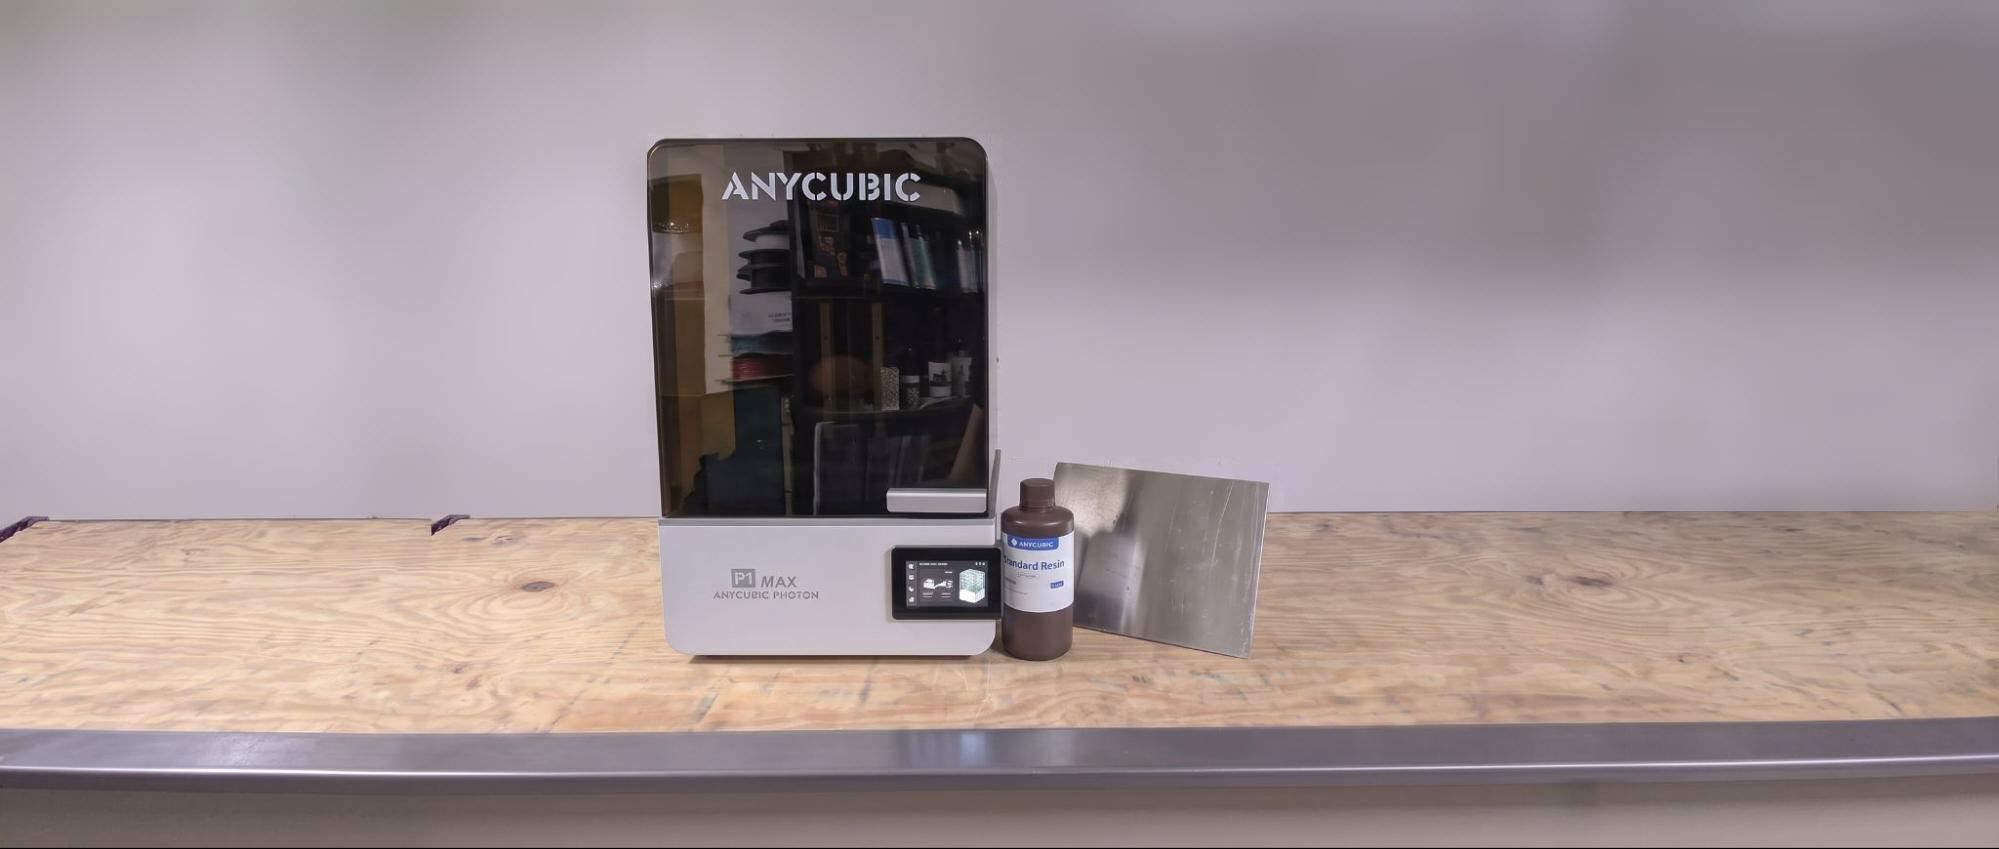
Make sure the room you use your resin printer in is well-ventilated to avoid inhaling fumes. Spilled resin should be immediately cleaned up with 99% isopropyl alcohol. After printing, make sure to wipe down your printer and bottles to remove smudges of uncured resin. Always keep your resin tightly sealed and safely stored out of reach of pets and children.
The Anycubic P1 MAX comes fully assembled out of the box. You’ll just need to remove the packing material from the build plate area and peel the screen protectors and labels off the printer and FEP Film.
If you choose any add-ons, such as the perforated build plate, they will be supplied in separate boxes.
The P1 MAX, just like the smaller P1, has the same assist features for leveling. You can choose to have the auto-leveling feature on at all times, which I do recommend, but there are times when it’s a good idea to check and make sure all is good after printing for a while. Personally, with these new printers, I tend to check the level right after the first test print to make sure everything is leveled properly.
I am still humbled by the fact that this printer has a pressure system to level the printer. It’s such a nice feature to have. That said, our review unit seems to have a firmware glitch. It levels the build plate, then raises the build plate off the screen about 100 mm. Then you adjust the screws and do it again to get the proper level. It’s not that bad, honestly. You just need to make sure you give it a little turn and go and adjust from there. Hopefully, Anycubic will patch this to make it work just like the smaller P1, where you adjust while the plate is against the screen, as it should be.
The Anycubic P1 MAX shares the same exterior and interior design as the smaller P1, which is polished and professional-looking. Anycubic has stepped up its game significantly on the design front, and I’m here for it. Normally, we see cutbacks on newer printers to make them more affordable for the end user, and that's all fine and dandy, but there is something about a nice, weighted printer that gives you that feel of quality over quantity.
The Locking System for the build plate is one of the better ones out there – no longer are you worrying about unscrewing the normal screw like in the past with resin printers. This has a flip-up / down locking system that is nice and chunky, a big plus. The same follows with the vat, which features a slide-in / out locking system that gets rid of the old screws. This is a nice upgrade, because you no longer have to worry about losing screws or getting resin spilled inside the screw holes when swapping vats.
The touch screen is just your standard 4.5-inch panel, but it was also nice and responsive in our testing. Handles on the sides of the printer make it easy to move around if needed, as well.
The P1 MAX has a heated vat that is constantly being maintained at a precise 35 degrees Celsius (95 F). Previous Anycubic resin owners have struggled with printers only initially heating up and then cutting off after that. That is no longer the case here.
The vat also features a drop tray for your build plate, which makes resin cleanup much easier. One thing you won't have to worry about much is the vat capacity: This Vat holds up to 1900ML(1.9L) of resin, which is plenty for any print task.
The most unique feature on the P1 MAX is the Wave Release technology. Anycubic decided to put a special screen cover over the LCD to help ease the release of all prints, and it works wonderfully. This tech keeps air bubbles from being trapped between the FEP Film and the screen, making the peel force smooth like butter.
The Anycubic Photon P1 MAX comes with Anycubic’s Photon Workshop Slicer pre-loaded onto the USB drive. It’s generally very user-friendly and works very well with prints. You select your resin, add your supports, and slice. Send the file to your printer, and you're done. For those who are not fans of having multiple slicers on their system, the good news is that both Chitubox and Lychee support the Anycubic Photon P1 MAX.
Using Anycubic Standard Resin in Gray, I wanted to print out some models for a co-worker who is a big Diablo fan. Searching around Makerworld, I came across this figure of Tyrael, and this model by FotisMint was already split into pieces for easier printing. I brought it into the slicer, angled the print, added some automatic medium supports, hit slice, and sent it off to the printer via WIFI. This model printed in 7 hours and 24 minutes at 0.050mm layer height. Taking 254ml of resin, it cost a little over $5 to print. A normal figure like this would be roughly between $25-$80. That’s quite the savings, even adding in the cost of paint.
Adding another print from the Diablo series, I decided to print the Lord of Terror from Makerworld as well. This print I scaled up a bit to make it more boss-like.
This was printed with a mix of Anycubic’s standard gray and white. It printed in 14 hours and 15 minutes, using 1106ML(1.1kg) of resin.
For the last test print, I wanted to do something different. A few years ago, I saw a print for a Pokémon Cubone mask for a dog. So to MakerWorld I went, searching for one that I could print easily, and I found one. It was a two-part mask with little pegs to clip them together. This is nice in part, because if one side of the mask breaks, you can just reprint it. This was sized for a smaller dog right off the bat, so I supported the print and sent it to the printer.
It printed in six hours and five minutes and used 519 ml of resin. I printed this in standard Anycubic gray resin.
Before you can admire your prints, you’ll need to wash them with isopropyl alcohol and cure them with a UV light . I like to give prints a 30-second hand rinse in a container of 95% Isopropyl alcohol, then a 2-minute rinse in the Anycubic Wash and Cure , which is sold separately and retails for $249 at Anycubic.com.
Completely dry the print with a hair dryer on cool – IPA left on the print will turn white. You can also let the print air dry in a place away from sunlight.
Supports are easier to remove before curing because they are softer. Clip the supports off with side cutters and use tweezers to remove stubborn supports. Remember to always wear gloves while handling uncured prints.
Then place the print in a UV curing station for 15 minutes, or outside in bright sunlight for a few hours.
Your IPA should never be flushed down the drain, especially after being contaminated with uncured resin. Instead, keep using the resin until it’s too dirty, then leave the container open to evaporate. The remaining sludge can be cured with UV light or the sun before being thrown away.
Supports should also be cured before being thrown away.
Key considerations
- Investor positioning can change fast
- Volatility remains possible near catalysts
- Macro rates and liquidity can dominate flows
Reference reading
- https://www.tomshardware.com/3d-printing/SPONSORED_LINK_URL
- https://www.tomshardware.com/3d-printing/anycubic-photon-p1-max-review#main
- https://www.tomshardware.com/membership
- NVIDIA to Acquire Hugging Face
- Save up to 38% on a new gaming PC before the Labor Day sales end and beat the price rises — lock down last-minute savings on new pre-built rigs from Best Buy, N
- Class Is in Session: GeForce NOW Levels Up Linux, Chromebooks and More
- ‘NBA 2K27’ With NVIDIA DLSS 5 Leads 28 New Games Coming to GeForce NOW
- TSMC to start using High-NA EUV lithography in 2030 — A10 or A11 technology prime candidates for use
Informational only. No financial advice. Do your own research.