
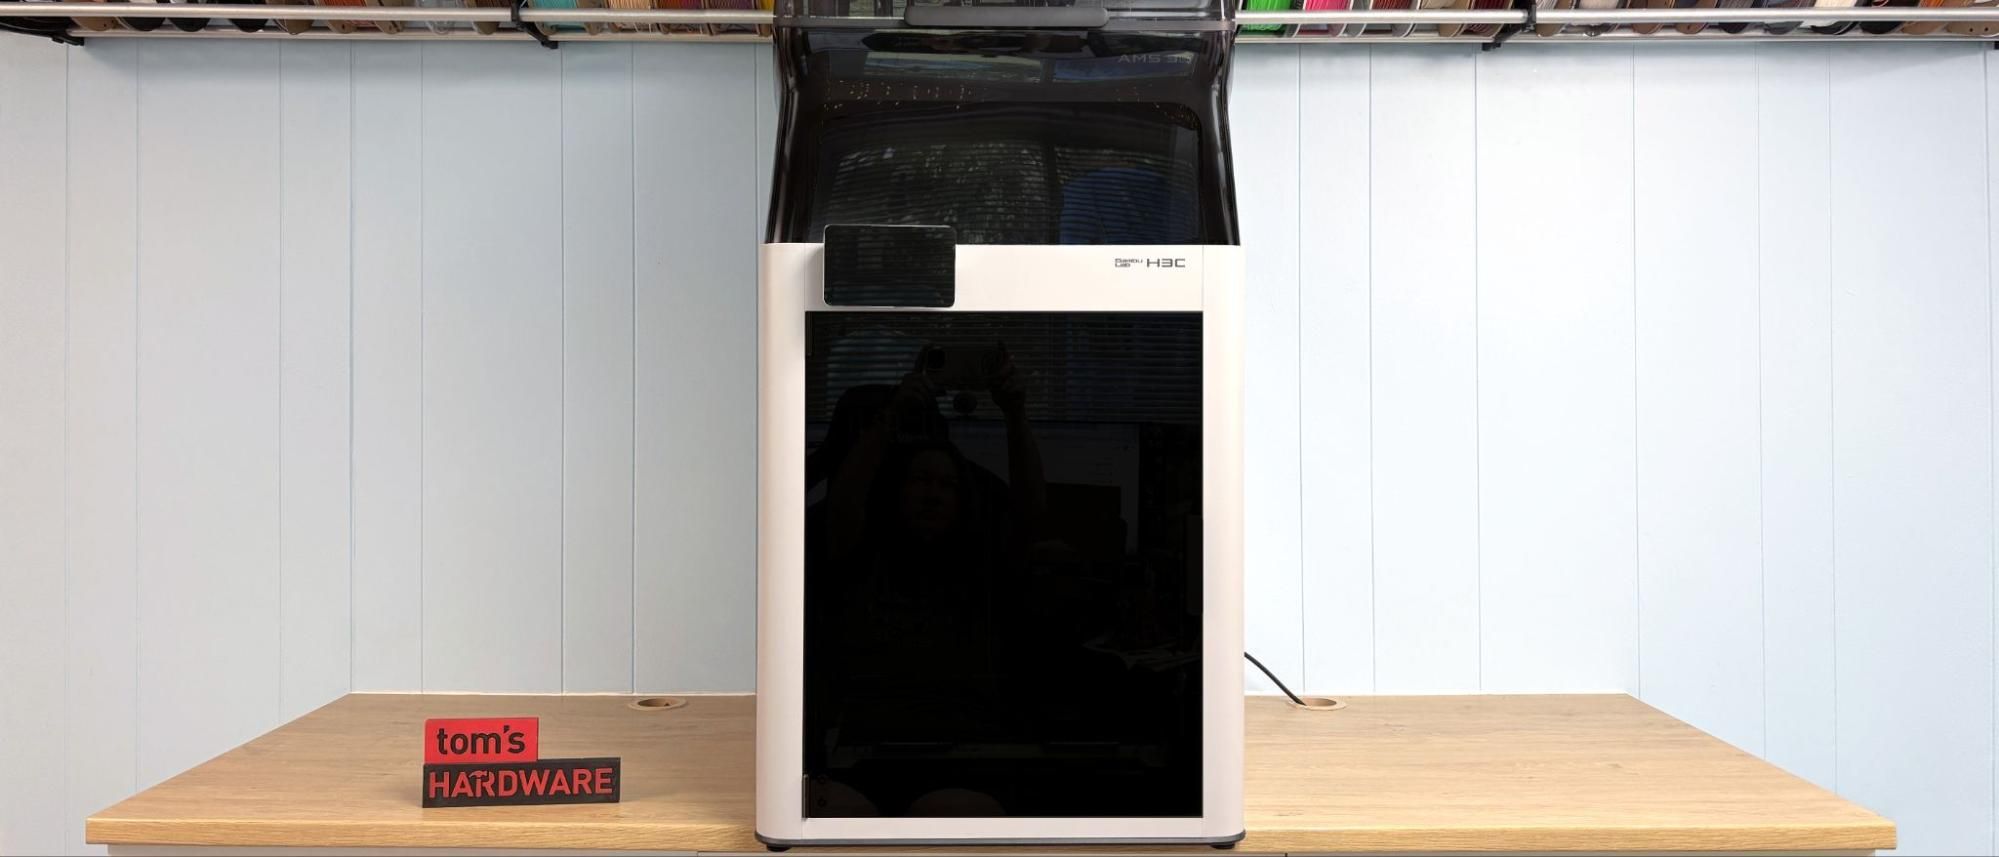
The body of the Bambu Lab H3C looks similar to the rest of the H series except for the toolhead. The Flexfeed extruder can adjust automatically to push multiple filament widths and does well with some of the softest TPU I’ve tried.
The H3C has active chamber heating, up to 65°C, goes to 350°C at the hot end and 120°C on the bed, which makes printing PPA and PPS, nylons, ABS, and ASA easy. For the smellier filaments, it has active carbon and HEPA filtration.
The ventilation is sufficient to run lower-temperature filaments like PLA with the printer’s door closed.
The printer has an excellent camera that is used for AI detection on prints and can be monitored from the Bambu Handy app as well as the device page of Bambu Slicer. The camera can also capture time-lapses of prints when a USB stick is inserted in the slot behind the touch screen.
The Bambu Lab H3C has a footprint similar to the other H series printers but does require space on both sides to access the side panels of the AMS 3H. With the top-mounted AMS and the space required for the tool wiring and Bowden tubes, the Bambu Lab H3C requires a total of 1306 mm in height (over four feet) to operate comfortably. When resting on a standard-height counter or the 3ft tall racks we normally use for our printers, I needed a small ladder to reach the rear spools in the AMS 3H. Even my husband, who is 6’4,” had to stretch to reach the back. Shortly after I had the printer set up, I received the Bambu Station, which, at 23.5 inches tall on its wheels, is a great solution for keeping this printer in reach. If you don’t have a shelf or table the height of a coffee table, I recommend getting one.
Bambu is also introducing a companion E1 Air Purifier that syncs with the H3C and activates when you start a print job. We did not receive an E1 to test, and we’re not sure if the air cleaner will be offered as a standalone product. It is part of the premium $3,049 combo that includes the printer, rolling cart, and several spools of filament.
The Bambu Lab H3C arrives in two large assemblies: the main printer and all the things attached to the AMS 3H. After removing the packing material, zip ties holding the tool head in place, four screws holding the bed in place, and two retainers holding the rack in place, the AMS 3H can be hefted on top of the base unit. This is best done while the unit is on the floor or at least somewhere with a bunch of overhead clearance.
The touch screen attaches to the base unit without tools, and the ribbon cable is just long enough to reach the back of the screen. The nine tools have to be manually placed in the front rack, which takes some time until you learn how they attach. At least one needed to be attached once the printer was powered up.
The AMS 3H has its own power cord for the heater and a cable connecting it to the base. There are preinstalled screws to attach the Base unit to the AMS 3H, but I left these unused since removing the front panel requires tipping the AMS 3H back a bit.
The Bambu Lab H3C performs a bed level as part of its initial calibration suite and again before each print. This works flawlessly in practice.
When using non-TPU 1.75mm filament, the AMS 3H loads filament just like a regular AMS. Filament is inserted into the feeder, which automatically pulls it into the toolhead when that tool is selected. The RFID tag on Bambu Lab branded filament will automatically enter the filament type and color. Other filament brands need to be entered manually into the printer via the touchscreen.
The AMS 3H does not have powered rollers to retract the filament. You will need to select Unload from the filament screen, and the printer will cut the filament and retract it from the tool head. You will need to manually pull the filament out the rest of the way.
2.85mm filament and softer TPU will need to be manually fed through a port on the bottom of the AMS 3H. All filament slots except 2 and 4 have this port. The filament bypasses the tubing to feed directly into the tools. The standard Bowden tube must be removed from the tool and inserted into a holder on the side. For 1.75mm TPU, a small piece of Bowden tube is inserted into the top of the tool to help feed the filament correctly. 2.85mm filament can be inserted directly into the tool. Once inserted, filament using the bypass must be loaded manually.
Bambu Studio, based on PrusaSlicer and its forbear, is one of the best slicers out there. Working seamlessly with the printer for filament mapping, control, monitoring, and access to all of the files on Makerworld, it is a joy to use.
The H3C is a much faster machine than its predecessors because it does not need to reel filament back and forth from the AMS. However, it still uses a purge tower, which can waste a bit of time and filament. It only takes about six seconds to swap tools, which is quite remarkable.
The H3C did not come with filament samples, but Bambu Lab did send along several spools of PLA Palette and spools of 2.85 75A TPU to try. You’re going to need a bunch of filament for this beast, so check out our list of best filaments for 3D printing for suggestions.
To get the measure of the Bambu Lab H3C, I loaded up one of my favorite prints, a steampunk dragon by the designer Cinderwing 3D. I had previously printed it in eight PLA colors using two AMS modules on an Anycubic Kobra 3 Max, which is a bed slinger. That first print took 37 hours and 28 minutes and wasted 267g of filament in poop and purge.
Using a .2mm layer height and an average print speed of 140mm/s, the H3C cut that time down to a bit less than 24 hours, and only wasted 68g in its purge tower. The print quality is excellent, and all the colors came out clean. The main color is Prusa Pearl Mouse , Polymaker Panchroma Silver , and black, white, magenta, yellow, and cyan from Bambu’s new Palette PLA , which is actually designed for color mixing.
Eight colors were not enough. I swapped out the 2.85mm tool with the spare 1.75mm tool and printed a nine-color Princess Donut and Mongo from Dungeon Crawler Carl (my latest obsession). I have been using this print to test out other tool changers for a future comparison. The print came out fantastic, with super shiny silks and clean color transitions. I had to “hand paint” this in Bambu Slicer, which took a bit of time. The teeth on the print are a bit shaky, but that is due to the insane amount of support this model required.
This printed in 15 hours and 12 minutes, with a 152.6-gram prime tower, using a .2mm layer height and default settings. For comparison, the same print with the same settings but only 5 colors on the H2C took 24 hours and 44 minutes and used 111.4grams on its prime tower. The Prusa INDX took a similar amount of time (15 hours and 38 minutes) to run the same print in 8 colors, but only needed to waste 24grams of prime purge.
Princess Donut (Cat) Polymaker dual silk sunset gold-red , Polymaker Panchroma Silk Purple , Jessie Elixir Electric Lemonade.
Mongo (Dinosaur): Polymaker silk blue , Polymaker white HT-PLA Pro , Bambu pink PLA basic .
Saddle: Inland brown PLA+ , Hobby Lobby PLA wood , Elegoo red silk PLA .
Key considerations
- Investor positioning can change fast
- Volatility remains possible near catalysts
- Macro rates and liquidity can dominate flows
Reference reading
- https://www.tomshardware.com/3d-printing/SPONSORED_LINK_URL
- https://www.tomshardware.com/3d-printing/bambu-lab-h3c-3d-printer-review#main
- https://futureplc.com/privacy-policy/
- Sony's final 4K Blu-ray player listed as out of stock in Japan, firm may be preparing to abandon standalone players
- Google data center wins approval in Minnesota after protests delay council vote twice
- Windows 11 8GB RAM configurations get a performance boost
- Brazilian lawyers busted for attempting to manipulate court's AI with prompt injection hidden in filing
- Nvidia Brev security breach may have exposed SSH keys used to access customer VMs
Informational only. No financial advice. Do your own research.